
Nights out and drinks
Spend a night at a venue to lift your mood, pour a drink at the Blind Pig, and what being tipsy, drunk or wasted does to you, from hangovers to overdoses.
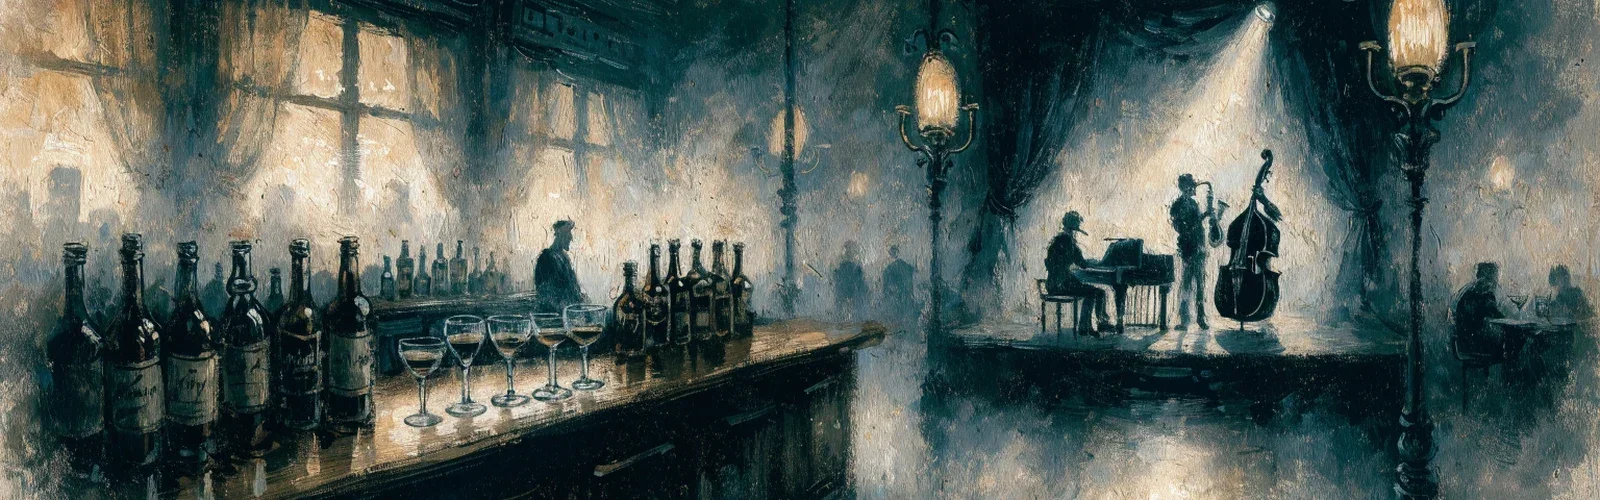
Vesper City never sleeps, and a good night out is how its people stay happy. Happiness (the Happy bar) helps you recover and keeps a character in good spirits. This page covers the two ways to raise it after dark, and the price of overdoing it.
Nights out
Open City → Nights out from level 3. Each venue is a place to spend an evening: a back-alley bar, a dance hall, a jazz club, a picture palace, a speakeasy, a high-society club. Each one has its own price, its own happiness and its own level to enter, and the better ones cost more and give more.
- Pay the price in cash and you gain the venue's happiness at once.
- A good night's glow: for 4 hours afterwards your Happy bar's maximum is raised by 50% of the venue's happiness, and the night's happiness can fill that extra room. Several glows can stack, up to 150 points in all. When a glow ends, anything above your normal maximum is trimmed back down (never below it).
- Opening hours: venues open at 17:00 and close at 07:00, game time (London). A venue may keep its own hours.
- Once per venue: you wait 6 hours before the same venue again.
- Venues are in different districts. Staff may require you to be in the venue's district; the page tells you if so.
Some venues pour drinks too (see below). A venue named after a contest winner shows the winner's name under it.
The Blind Pig
Open City → The Blind Pig from level 3. Pick a drink from the menu, pay its price in cash and drink it. Each drink gives happiness and adds to your intoxication meter.
A deeper menu (the "back booth") opens from level 5. It works the same way and carries the same risks.
Some drinks are named after a contest winner. They are ordinary drinks, with the winner's name shown on the menu.
How drunk are you?
You never see the meter's number, only its name:
- Sober: clear-headed.
- Tipsy: a warm glow. Crimes and Quick fights are 5% less likely to succeed.
- Drunk: crimes and Quick fights are 10% less likely to succeed.
- Wasted: crimes and Quick fights are 20% less likely to succeed, and the next dose could put you in hospital.
The meter wears off by itself, 10 points an hour, even while you are offline. Below level 10, a dose that would leave you Wasted asks you to confirm first.
Drinking more
- Diminishing returns: within 12 hours, each extra dose gives 70% of the happiness of the one before.
- Hangover: after 3 doses in that window, a hangover sets in for 6 hours. You lose a little happiness once, and your Happy bar refills 25% slower. The Herbalist sells a cure (see Landmarks and special buildings).
- Tolerance: a hidden stat. Regular drinkers slowly get a higher limit and softer hangovers, but drinks give them less happiness. You never see the number.
- A home bar (see Home upgrades) makes drinks give more happiness.
When it goes wrong
- Overdose: while Wasted, every dose may be an overdose. The first one carries a 10% chance, the second twice that, and so on. An overdose sends you to hospital for 30 to 90 minutes, takes 50% of your happiness and uses up the dose. It can also make a funny story in The Evening Racket (at most one a day per player).
- Mishaps: from level 10, being Tipsy or worse carries a small chance of something going wrong when you do certain things. On foot you may fall (a short hospital stay) or be mugged (a share of your cash on hand, never your bank). Behind the wheel you may crash (a hospital stay and damage to the car) or be arrested for drunk driving (a short jail stay and a fine that grows with your level). The wasted are likelier to suffer one.
- Below the mishap level none of this happens: new players are protected.
Tips
- Plan your drinking for after your crimes and fights, not before.
- Keep a hangover cure in mind if you had a big night.
- A night out is the safe way to raise your mood; it carries no risk beyond the price.